How to Install a TV Wall Mount: The Ultimate Step-by-Step Guide (2026)
Mounting your TV isn’t just about saving space—it’s about creating the perfect viewing experience. Whether you’ve just unboxed a brand new OLED or a massive 85-inch LED, hanging it yourself is a rewarding DIY project that you can finish in under an hour.
In this guide, we’ll walk you through the process step-by-step to ensure your TV stays securely on the wall and perfectly level.
Before You Start: The Essential Gear
You can’t do this with just a screwdriver. To avoid a “TV disaster,” make sure you have these tools ready:
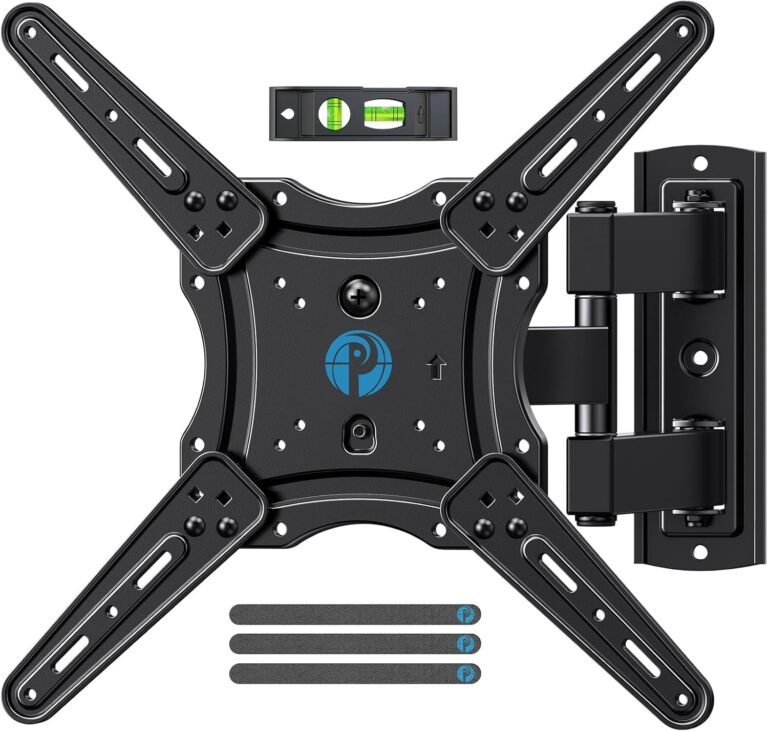
- The Mount: We recommend the Mounting Dream MD2380 for its versatility.
- Stud Finder: Essential for safety. [Check out this top-rated magnetic stud finder]
- Power Drill & Bits: To create pilot holes.
- Level: Most mounts include a small one, but a [standard 12-inch level]is more accurate.
- A Friend: Never lift a large TV alone!
Step 1: Find Your Perfect Height
The biggest mistake people make is mounting the TV too high (the “TV-to-high” syndrome).
- Pro Tip: The center of the screen should be at eye level when you are seated.
- Use masking tape to outline where the TV will go on the wall so you can visualize the placement before drilling.
Step 2: Locate the Studs
Never mount a heavy TV into drywall alone. 1. Use your stud finder to locate two wood studs (usually spaced 16 inches apart).
- Mark the center of each stud with a pencil.
- If you have concrete or brick walls, you’ll need masonry anchors instead of wood screws.
Step 3: Drill Pilot Holes
- Hold the wall plate (or the provided paper template) up to your marks.
- Use your level to make sure the plate is perfectly straight.
- Mark the holes and drill into the center of the studs using a drill bit slightly smaller than your mounting bolts.
Step 4: Attach the Wall Plate
- Align the wall plate with your pilot holes.
- Drive the heavy-duty lag bolts into the wall using a socket wrench or your drill.
- Double-check with your level one last time before you tighten them all the way!
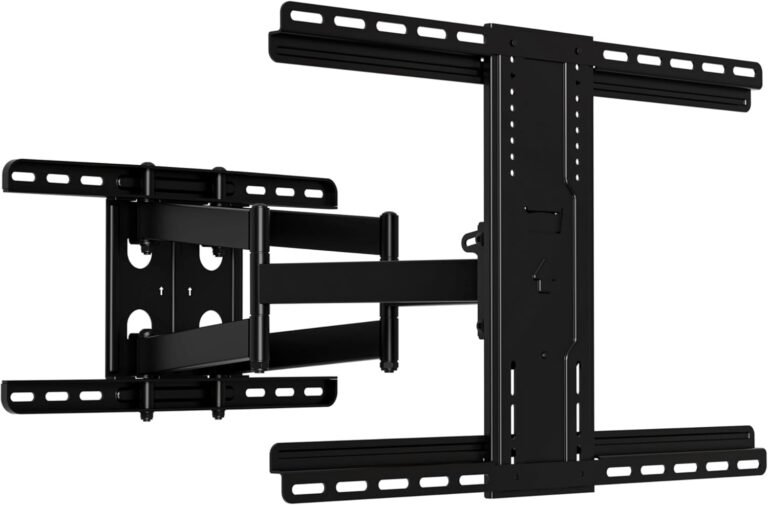
Step 5: Attach the Brackets to Your TV
- Lay your TV face-down on a soft surface (like a rug or the TV box).
- Locate the VESA mounting holes on the back.
- Attach the mounting arms/brackets using the screws provided with your mount.
- Note: If your TV has a curved back, use the “spacers” included in the mount kit.
Step 6: The Big Lift
- With your partner, lift the TV and hook the brackets onto the wall plate.
- Once it “clicks” or settles into place, install the safety screws or locking tabs to prevent the TV from being knocked off the mount.
Recommended Mounts for This Project
| Best For… | Recommended Model | Key Feature |
|---|---|---|
| Most TVs (32″-65″) | [Mounting Dream MD2380] | Best swivel and tilt range. |
| Massive Screens (Up to 42″) | [Perlegear Heavy Duty] | Supports up to 150 lbs. |
| Clean & Low Profile | [Sanus Fixed Mount] | Sits flush against the wall. |
Quick Troubleshooting Tips
- TV is Crooked? Most modern mounts like the Mounting Dream allow for “post-installation leveling.” Just loosen the leveling screws slightly, adjust, and re-tighten.
- Dangling Wires? Don’t let cables ruin the look. Grab a [Cable Management Raceway Kit] to hide them without cutting into your drywall.
Final Verdict
Mounting your TV is a simple way to upgrade your home theater instantly. As long as you hit the studs and use a level, you’ll have a professional-looking setup in no time.
Ready to get started? Grab your Mounting Dream MD2380 on Amazon today!
Disclaimer: As an Amazon Associate, I earn from qualifying purchases.


[…] Explore more Blog posts […]